
Currently at UB our modeling for the VR environemnt based on SGI's Performer
 is limited to polygon models. A newer version of Performer (3.1.1) does offer some limited support for NURBS and subdivision models. Version 3.1 also offers a native Maya plugin for Maya 4.5.
[size=m]Creating models for Performer[/size]
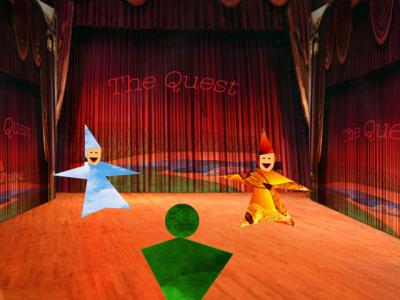
Because we are using Performer 3.0.1 I will be talking about polygon modeling exclusively. Just because we are making our final export as a polygon mesh, does not mean that we are limited to polygons when modeling. Examples, the theatre curtains below.

[size=m]UV mapping polygon objects[/size]
Once your model is created and converted to polygons it is best to texture it using one single texture map. Performer, accets texture maps of any size, but must natively convert them to powers of 2, so it makes sense to start with textures that are powers of 2. E.g. 128 x128, 1024x 1024, they do not have to be proportional e.g. 128 x 512.
Using a single texture map has several advantages over multiple texture images.
[list]
Saves on RAM. Only one textuer needs to load into video am. There is also much less wasted space on a texture.
Easy to organise, one texture file per object
Texture image can span across polygon borders.
[/list]
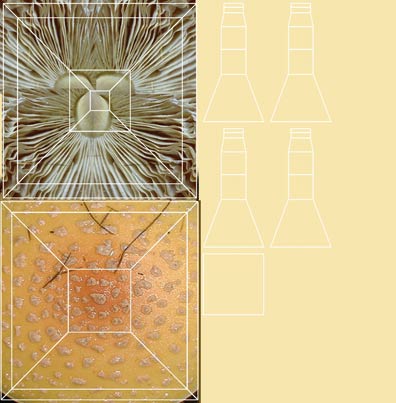
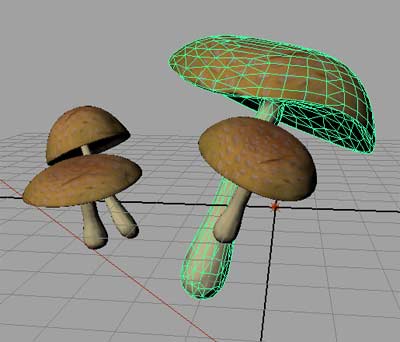
In the below example I created a model with very low poly cont, textured it using Cinema 4Ds Bodypaint and then exported it using Kaydara's FBX format into Maya 6. The FBX format is a universal 3D model format for moving meshes between modeling and animation packages. Alias just bought kaydara and has promised to continue development of the free plugins. they can be found at

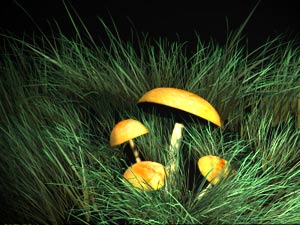
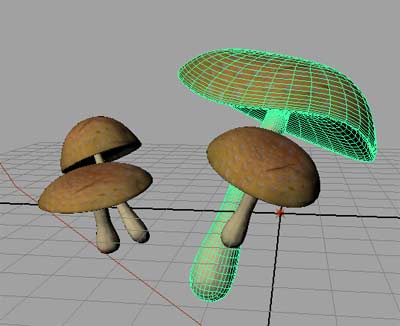
Brought into Maya for further manipulation and rendering.
[size=m]Reducing Polygons[/size]
Reducing Polygons is vital when working in a Realtime environment. The fewer polygon in the final mesh, the better. Maya's polygon reduction tools are excellent at reducing the number of polygons in an object and most often preserve the texture coordinates very well. make sur eto use the heads up display to see details. FOund in Display ->Heads up Display -> polycount
[size=m]Checking Normals[/size]
Make sure the object has polygon normals facing outward. In maya this is found under Display -> Polygon Component -> normals
[size=m]Obect Axis[/size]
Make sure to center the object axis where you want the scaling and rotation and transormatiosn to occur. In maya this is done by hitting the insert key and moving the axis where you want it to be.
If the model is going to be moved around in the scene, it may be wise to center it at 0,0,0 in the world coordinate system. If it is part of a statiic envirnment, you may want to export it with the transformation already made, so that those calculations don't have to be made by the GPU during processing.
[size=m]Exporting[/size]
You may want to change to z-up in maya. This is done in the preferences as performer is Z up. This can also be done afterwards by performing a rotation on the model. It is, however, easiest to do it at this stage in the process.
Next, enable the obje xport plugin in Maya and export the object to obj. If you have performer installed you can now go ahead and convert the model to a pfb using the pfconv command at the command prompt. This can also be done in linux afterwards. Change to the folder with the obj model, mtl file, and texture file.
Make sure the ob
ject texture is in rgb fo
rm
at. If it is not, simply convert it using phothsop or the gimp and rename all the file ending to .rgb in the .mtl file. Then type the following to convert
pfconv input_filename output_filename
To view your model in performer, make sure you are still in the directory with the pfb model and type
perfly your_model.pfb
Edit the .mtl file and change all Kd calues to 1.0 instead of 0.0 and reconvert if you object appears black.

You can find example models from the project here: